Let’s make sure you know what a Phase 1 site assessment actually is, what it covers, and who needs to get one before moving forward on a commercial deal in Central Florida.
If you’re buying commercial property, you’ve probably heard the term Phase 1 site assessment come up during due diligence. For some buyers, it feels like just another box to check. In reality, it’s one of the more important steps in the entire transaction, and skipping it or rushing it can create serious problems down the road.
It doesn’t involve any drilling, digging, or physical testing. The goal is to identify whether there’s any reason to believe the property has been contaminated, or is at risk of contamination, based on its history and current conditions.
The specific thing the assessment looks for is called a Recognized Environmental Condition, or REC. A REC is any indication that hazardous substances or petroleum products may have been released on the site, or that conditions exist that could create environmental liability for the new owner.
Phase 1 assessments follow the ASTM standard E1527-21. At CFBI, assessments meet that standard and can be tailored to fit the specific needs of each transaction.
What the Process Actually Looks Like
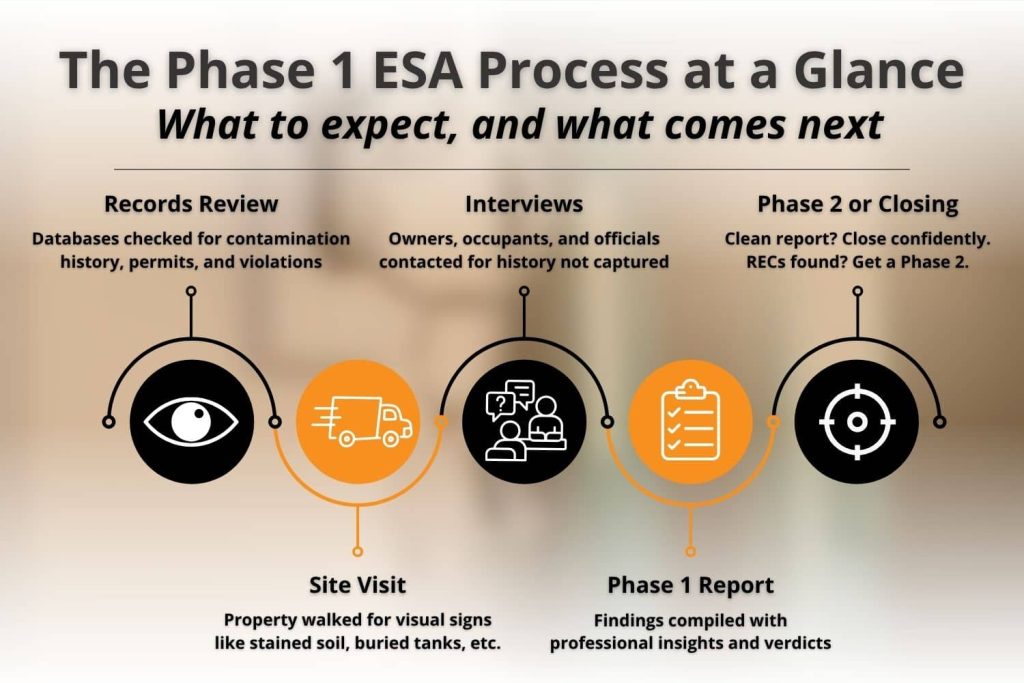
A Phase 1 has four main components. Together, they build a full picture of the property’s environmental background.
Records Review
The assessor pulls federal, state, and local regulatory databases to look for anything tied to the property or nearby sites.
EPA records, Florida DEP files, underground storage tank registrations, cleanup histories, permits, and violations all get reviewed. This step establishes the documented history of the land before anyone ever sets foot on it.
Site Visit
The assessor physically walks the property and looks for visual signs of contamination.
Stained soil, stressed or dead vegetation, unusual odors, abandoned drums or containers, vent pipes that suggest buried tanks, and evidence of chemical use or dumping all get noted. What you can see on the ground sometimes tells a story that records don’t.
Interviews
Key property stakeholders, like current and past owners, occupants, and local officials, get interviewed when they’re available.
These conversations often surface information that never made it into any database, particularly on older properties with multiple prior tenants or uses.
Report
Everything gets compiled into a written report: a site description, regulatory findings, site visit observations, interview notes, and a professional opinion on whether RECs are present. If the assessor identifies RECs, the report will typically recommend a Phase 2 ESA to investigate further.
(Visual idea: Canva process graphic showing the four Phase 1 components as a simple horizontal flow: Records Review, Site Visit, Interviews, Report)
Who Needs One?
Most commercial property buyers need a Phase 1, and most lenders require one. Here’s a more specific look at who should be getting this done:
Buyer or Party
Why a Phase 1 Is Needed
Commercial property buyers
Due diligence before purchase
Real estate investors
Risk assessment and liability protection
Developers and land buyers
Required before permitting or financing
SBA loan applicants
Required by SBA for most commercial loans
Lenders and banks
Required before approving commercial financing
Long-term commercial tenants
Protection against inherited liability
One thing worth understanding:environmental liability can attach to a new owner even if they had nothing to do with the contamination. That’s not a hypothetical. It happens.
A Phase 1 is one of the primary tools that helps establish the innocent landowner defense under federal law. Without it, you have very little legal ground to stand on if contamination turns up after you’ve already closed.
Why Do Lenders Require It?
If you’re financing a commercial purchase through a conventional lender or an SBA loan, a Phase 1 ESA is almost always a requirement before closing. The lender needs to know the asset they’re securing a loan against doesn’t carry hidden environmental liability that could tank its value.
This applies broadly across property types: office buildings, retail centers, industrial sites, and mixed-use properties can all trigger the requirement depending on the lender’s guidelines. Getting the Phase 1 ordered early in due diligence keeps it from becoming a bottleneck when you’re trying to close.
What a Phase 1 Can and Can’t Tell You
Phase 1 is a powerful tool, but it has real limits. Knowing both sides of that helps set the right expectations going in.
A Phase 1 can:
Identify recognized environmental conditions based on records and visual observation
Flag prior land uses that may have left contamination behind
Satisfy most lenders and SBA requirements
Support the innocent landowner defense under CERCLA
Recommend whether a Phase 2 investigation is warranted
Evaluate conditions that are invisible and undocumented
Address mold, radon, indoor air quality, or other building-specific concerns
If Phase 1 raises red flags, Phase 2 is the next step. That’s where soil and groundwater sampling happens and where lab results either confirm a problem or give you a cleaner picture to work with.
CFBI specializes in Phase 1 assessments and does not perform Phase 2 investigations directly, but if your report surfaces concerns that warrant further testing, the team can point you toward qualified environmental contractors who do.
(Visual idea: Simple Canva map graphic highlighting CFBI’s service area from Tampa to Daytona with key counties labeled)
Phase 1 vs. Phase 2 vs. Property Condition Assessment
These three terms come up together often in commercial due diligence. They’re related but cover very different ground:
Assessment Type
What It Covers
Physical Testing?
Phase 1 ESA
Environmental history and visual conditions
No
Phase 2 ESA
Soil, groundwater, and material sampling
Yes
Property Condition Assessment
Building structure and systems
No
A Property Condition Assessment looks at the physical condition of the building itself. A Phase 1 looks at the environmental history of the land it sits on.
They answer different questions, and for many transactions, both get completed as part of a thorough due diligence process.
Florida’s Added Layer of Complexity
Central Florida’s land use history makes Phase 1 work here more involved than in some other markets. The region has grown fast, and that growth has converted agricultural land, former gas stations, dry cleaners, auto shops, and light industrial sites into commercial and residential developments at a rapid pace. Many of those prior uses involved materials that linger in soil and groundwater.
The Florida DEP maintains active cleanup records and regulatory databases that factor directly into Phase 1 reviews. Properties with former citrus grove history may carry pesticide concerns.
Older commercial corridors in Orange, Osceola, Seminole, Volusia, and Hillsborough Counties tend to have layered use histories that require careful review. This is not an area where a quick records pull and a drive-by site visit is going to cut it.
Related Questions to Explore
What other inspections are typically part of commercial due diligence in Florida? Beyond the Phase 1 and a standard commercial inspection, buyers often add mold inspection and testing, radon testing, sewer scope inspections, and termite inspections, depending on the property type and age. Properties with pools, solar panels, or balconies and railings may warrant additional specialty evaluations as well.
Is a 4-point inspection required for commercial properties in Florida? A 4-point inspection is primarily a residential insurance requirement in Florida, covering the roof, electrical, plumbing, and HVAC systems. Commercial properties follow different insurance and lender inspection requirements, which is part of why a formal property condition assessment or Phase 1 ESA is the more relevant starting point for commercial buyers.
What should buyers know about wind mitigation in Central Florida?Wind mitigation inspections document construction features that reduce a building’s vulnerability to storm damage. In Florida, where hurricane season is a real planning factor, these inspections can directly affect insurance premiums. They’re more common on residential properties but relevant for certain commercial buildings as well.
How does a pre-purchase inspection differ from a property condition assessment? A pre-purchase inspection is typically a buyer-initiated evaluation of a property’s overall condition before closing. A property condition assessment is a more formal, standardized report often required by lenders that follows ASTM protocols and includes cost estimates for major repairs. The scope and documentation requirements are meaningfully different.
When to Call a Professional
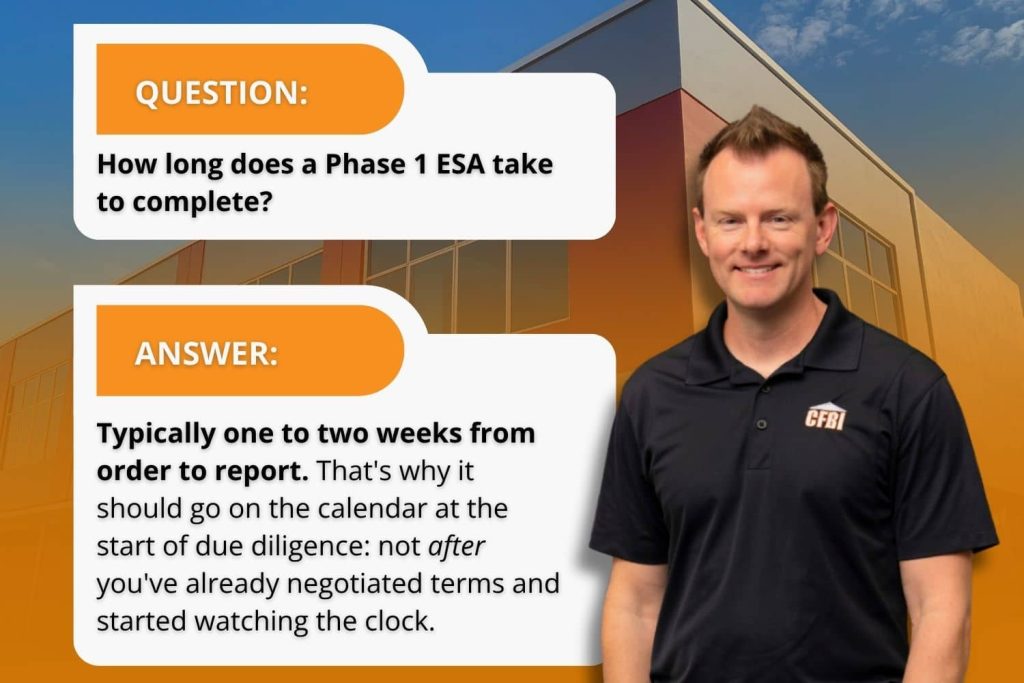
Get Phase 1 on the calendarearly, not at the end of due diligence when you’re already under pressure to close. These are the situations where reaching out to CFBI right away makes the most sense:
You’re purchasing any type of commercial property: Retail, office, industrial, warehouse, or vacant land. Environmental liability doesn’t sort by property type.
Your lender or SBA loan requires it: Order it at the start of due diligence, not when the lender asks for it mid-process.
The property has a history of industrial, agricultural, or automotive use: These are the highest-risk categories for environmental contamination in Florida.
You’re buying land for development: Permitting and construction financing almost always require a clean Phase 1 on file before work starts.
The site is near a gas station, dry cleaner, or industrial operation: Contamination travels. What’s happening next door matters.
Conclusion
A Phase 1 site assessment gives you documented evidence of a property’s environmental history before you’re legally attached to it. In a market like Central Florida, where rapid development has layered decades of varied land use onto sites across the region, that documentation matters more than most buyers expect until they actually need it.
CFBI has been working with commercial buyers, investors, and developers across Central Florida since 1988. Whether you need a Phase 1 ESA, a full property condition assessment, or both as part of a complete due diligence package, their team is ready to help you move forward with a clear picture of what you’re getting into. Schedule your assessment today.
Solar panels are showing up on rooftops all across Central Florida, and it makes sense. Long sunny summers, rising utility costs, and strong state incentives have pushed solar adoption well past the early-adopter crowd. But the solar panel is a significant investment, and like any major home system, they need inspection, not just admiration from the driveway.
Whether you are buying a home with an existing solar array, selling a property with panels installed, or simply want to know the condition of your own system, a solar panel inspection gives you the factual picture.
Here is what that process actually involves and why it matters in Florida.
Why Solar Panel Inspections Matter in Florida
Florida’s climate is ideal for solar energy production, but hard on the equipment itself. Intense UV exposure, high humidity, frequent thunderstorms, and hurricane-force winds all place ongoing stress on solar arrays and the systems that support them.
A solar panel inspection evaluates not just whether the panels produce power, but whether the entire system is structurally sound, safely wired, and performing at the level it should. In a state where rooftop solar appears in real estate transactions regularly, skipping that evaluation means accepting unknowns that tend to be expensive to discover after closing.
Buyers may inherit a system nearing the end of its productive life, improperly installed roof penetrations, or wiring that falls short of current code. Sellers benefit from a documented inspection that adds credibility to the system’s claimed value. For current homeowners, it serves as a maintenance checkpoint that protects a significant investment.
What Does a Solar Panel Inspection Cover?
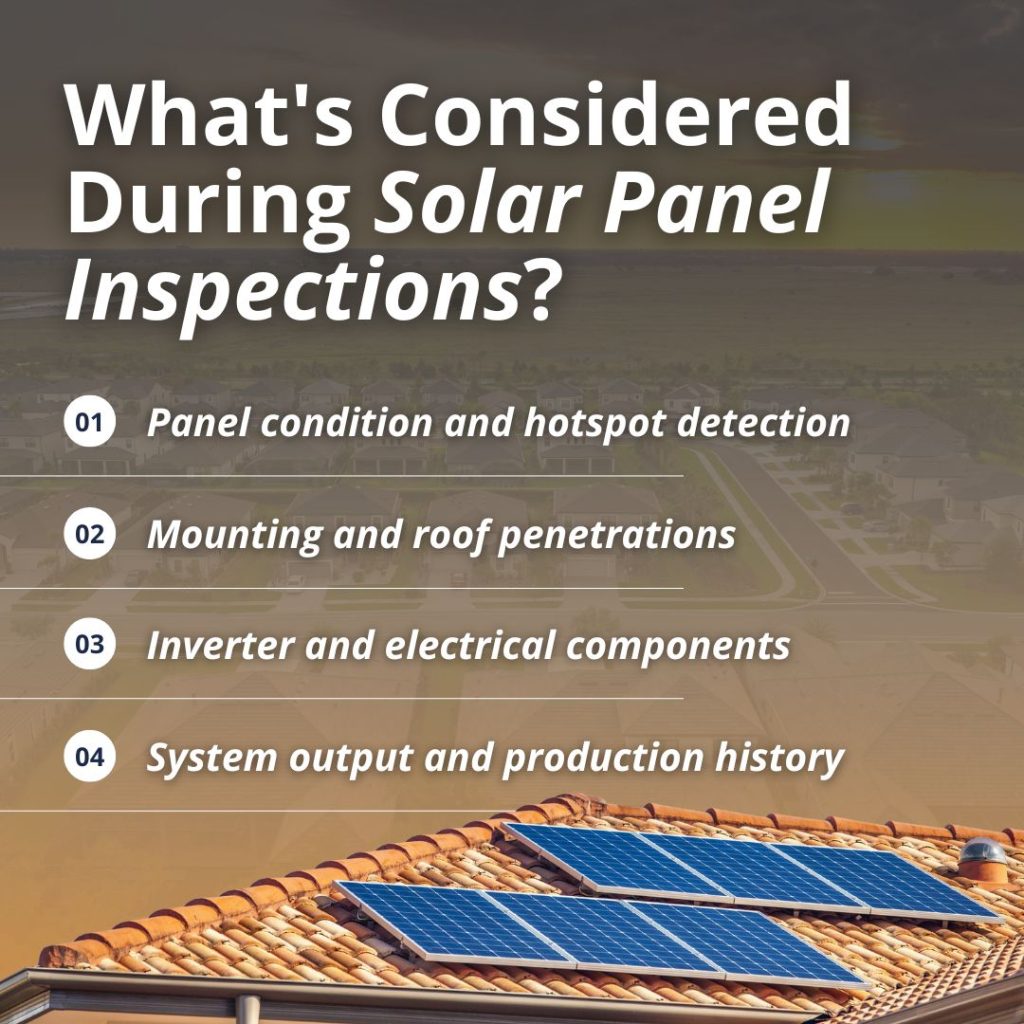
A thorough solar panel inspection goes well beyond a visual glance at the panels. Here is what a qualified inspector evaluates…
Panel Condition and Performance
Inspectors examine each panel for physical damage, including cracks, delamination, discoloration, and soiling that affects output. Hotspots are a common finding in Florida arrays.
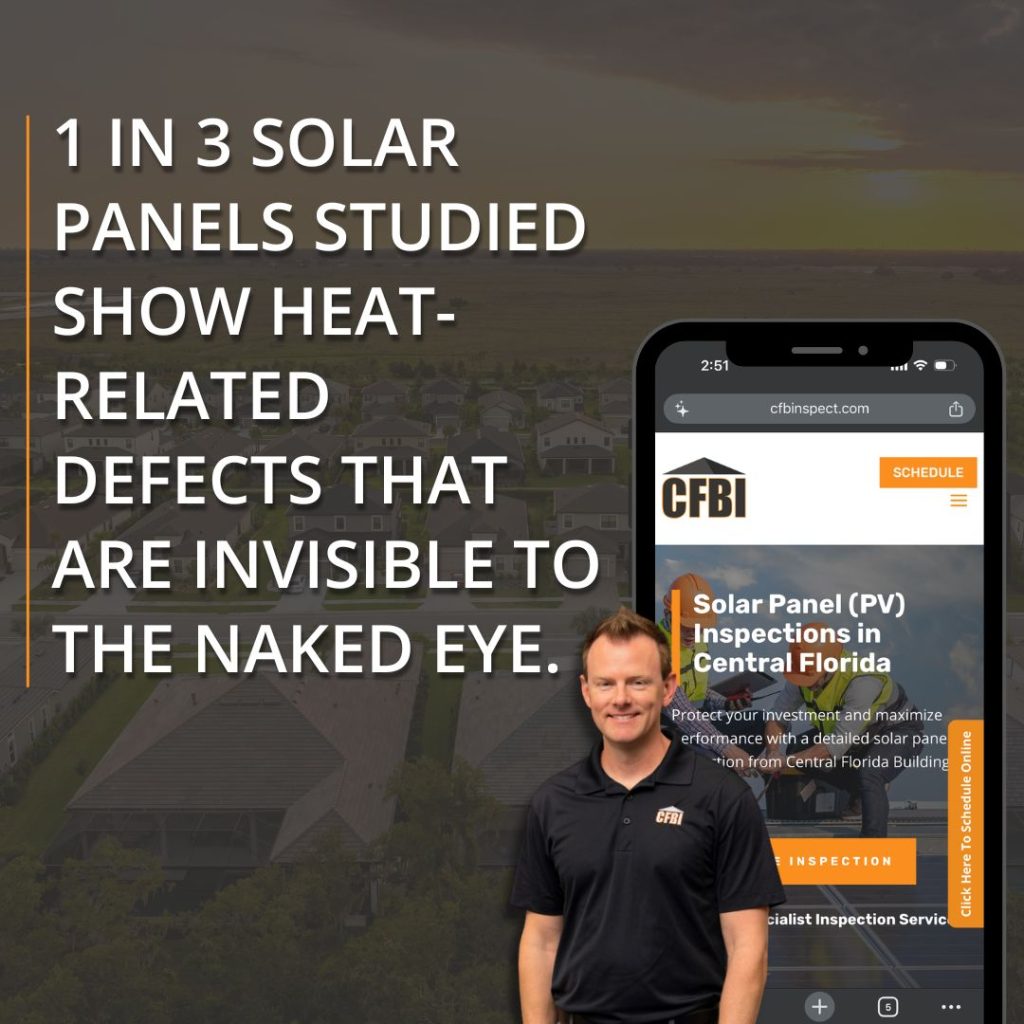
These are localized areas of heat caused by cell damage or shading, and they significantly reduce panel efficiency over time. Thermal imaging is a valuable tool here, revealing temperature anomalies across the array that are invisible to the naked eye.
Mounting and Structural Integrity
How panels attach to the roof matters as much as the panels themselves, particularly in a state where hurricane preparedness is a way of life. Inspectors check mounting hardware for corrosion, loose connections, and proper spacing.
Roof penetrations get evaluated for adequate sealing and signs of water intrusion, which is a critical concern in Florida, where any compromise in the roof assembly can lead to significant moisture damage.
Inverter and Electrical Components
The inverter converts DC power generated by the panels into AC power usable in the home. Inspectors evaluate the inverter’s condition, age, and error codes, along with disconnect switches, conduit runs, and wiring connections throughout the system.
Electrical deficiencies in solar installations rank among the more serious findings because they affect both system performance and safety.
Roof Condition Below the Array
Panels can obscure roof deterioration that would otherwise be visible during a standard inspection. The inspector examines accessible roof surfaces around and beneath the array for signs of wear, damage, or moisture intrusion that may have developed unseen.
This is especially relevant in older Florida homes where the roof and the solar installation may be at very different points in their lifespans.
System Output and Monitoring Data
Most modern solar systems track how much power they produce over time. When that data is available, the inspector reviews it to see whether the system is actually generating what it should be, based on its size and Florida’s sun exposure.
If the numbers are lower than expected, that gap is worth investigating. It could mean the panels are aging faster than normal, something nearby is casting shade on the array, or a component is not working the way it should. Any of those findings is worth resolving before a sale closes.
Solar Panels and Florida Real Estate Transactions
Solar systems add complexity to real estate transactions that a standard home inspection is not designed to address in depth. A few Florida-specific considerations are worth understanding before buying or selling.
Owned vs. leased systems: Many Florida homeowners installed solar under a lease or power purchase agreement rather than owning the system outright. In a sale, a leased system transfers to the buyer along with the contract obligations. Before closing, buyers need to understand the remaining term, monthly payments, and any transfer fees. An inspection clarifies physical condition regardless of ownership structure.
Insurance implications: Florida insurers have become increasingly attentive to rooftop solar in recent years. Installation method, panel condition, and roof integrity beneath the array can all affect insurability and premium rates. A documented inspection gives buyers and their agents clear information before those conversations begin.
4-point inspections: Many Florida insurance companies require a 4-point inspection for homes above a certain age before issuing coverage. The 4-point covers roof, electrical, plumbing, and HVAC systems. A solar panel inspection is separate and more detailed, but the two are often coordinated when a home has panels going through the insurance process simultaneously.
Situation
Why a Solar Inspection Matters
Buying a home with solar
Confirms system condition and identifies defects before closing
Selling a home with solar
Documents system value and reduces buyer uncertainty
Refinancing or insuring
Provides third-party condition assessment for lender or insurer
Routine owner maintenance
Identifies performance issues and extends system lifespan
How Long Do Solar Panels Last in Florida?
Most solar panels carry a manufacturer’s warranty of 25 years and are rated to produce at least 80 percent of their original output by the end of that period.
Real-world performance in Florida depends on installation quality, maintenance history, and the environmental stress the system has experienced.
Inverter Lifespan
Inverters typically have shorter lifespans than the panels themselves. String inverters often last 10 to 15 years, while microinverters and power optimizers tend to run somewhat longer.
A mid-system inverter replacement is a normal maintenance cost, but it is worth knowing about before buying a home with an older installation.
Degradation rates in Florida run slightly higher than in milder climates due to heat and UV intensity. A system that is 10 or more years old and has never been professionally evaluated is worth inspecting before assuming strong performance continues for another decade.
Related Questions
Does a standard home inspection evaluate solar panels? A standard home inspection covers visible and accessible components of the home’s major systems. Inspectors note solar panels in the report, but the evaluation is not in-depth. A dedicated solar inspection separately assesses panel condition, mounting, electrical components, and system output in full detail.
What is a 4-point inspection, and does it cover solar? A 4-point inspection evaluates four specific systems: roof, electrical, plumbing, and HVAC. Florida insurance companies commonly require it for older homes before issuing coverage. Solar panels fall outside the standard 4-point scope, though electrical components tied to the solar system may be noted where they affect the home’s overall electrical evaluation.
What does a wind mitigation inspection cover? A wind mitigation inspection evaluates how well a home resists wind damage, including roof shape, roof covering, roof deck attachment, and opening protection. Insurers use it to determine premium discounts. For homes with solar, the mounting method and roof penetration integrity can factor into how the roof assembly is evaluated.
What is thermal imaging, and how does it apply to solar inspections? Thermal imaging uses an infrared camera to detect temperature differences across surfaces. During a solar panel inspection, it identifies hotspots on the array that point to damaged cells or electrical issues. During a general home inspection, the same technology reveals moisture intrusion, insulation gaps, and electrical anomalies not visible to the naked eye.
Should buyers add a solar inspection to a pre-purchase home inspection? Yes. Solar systems affect the roof, electrical system, and potentially the insurance and financing terms of a transaction. Scheduling a dedicated solar inspection alongside the general home inspection gives buyers a complete picture of the property before they commit to closing.
When to Call a Professional
Schedule a solar panel inspection from CFBI when:
You are buying a home with an existing solar installation and want to know its true condition before closing
You are selling a home with solar and want documented third-party confirmation of system quality
Your panels are more than five years old and have never received a professional evaluation
You have noticed a drop in energy production or received alerts from your monitoring system
You are refinancing or updating homeowner’s insurance and need a current condition assessment
CFBI provides solar panel inspections throughout Central Florida, including Orlando and the Tampa and Gulf Coast region. Our inspectors evaluate solar systems as part of a comprehensive property review, giving buyers, sellers, and homeowners the information they need to move forward with confidence.
Conclusion
A solar installation is one of the most significant additions a homeowner can make to a Florida property. It affects energy costs, roof integrity, insurance terms, and resale value all at once. A thorough inspection gives everyone involved a clear, documented picture of what the system is doing and what condition it is actually in.
For buyers, sellers, and homeowners throughout Central Florida, CFBI’s solar panel inspection service delivers the detailed evaluation that a major investment deserves. Schedule your inspection today.
One of the first questions buyers and sellers ask is how long a home inspection will take. The answer matters because inspections affect scheduling, negotiations, repairs, and closing timelines.
In Central Florida, where homes range from older block construction to newer planned communities, inspection time can vary more than many people expect. A home inspection is a methodical evaluation of visible and accessible areas of the property.
Understanding how long inspections typically take and why helps set realistic expectations and reduces stress on inspection day. This guide explains it, plus what factors influence inspection time, and how different inspection types compare.
What a “Standard” Home Inspection Includes
A standard pre-purchase home inspection is a visual evaluation of the home’s major systems and components. The goal is to identify visible defects, safety concerns, and conditions that may require further evaluation.
Interior walls, ceilings, floors, doors, and windows
Attic areas and insulation (where accessible)
Inspectors do not perform repairs or invasive testing. Instead, we document visible conditions and explain their potential impact on the home.
Average Duration of a Standard Home Inspection
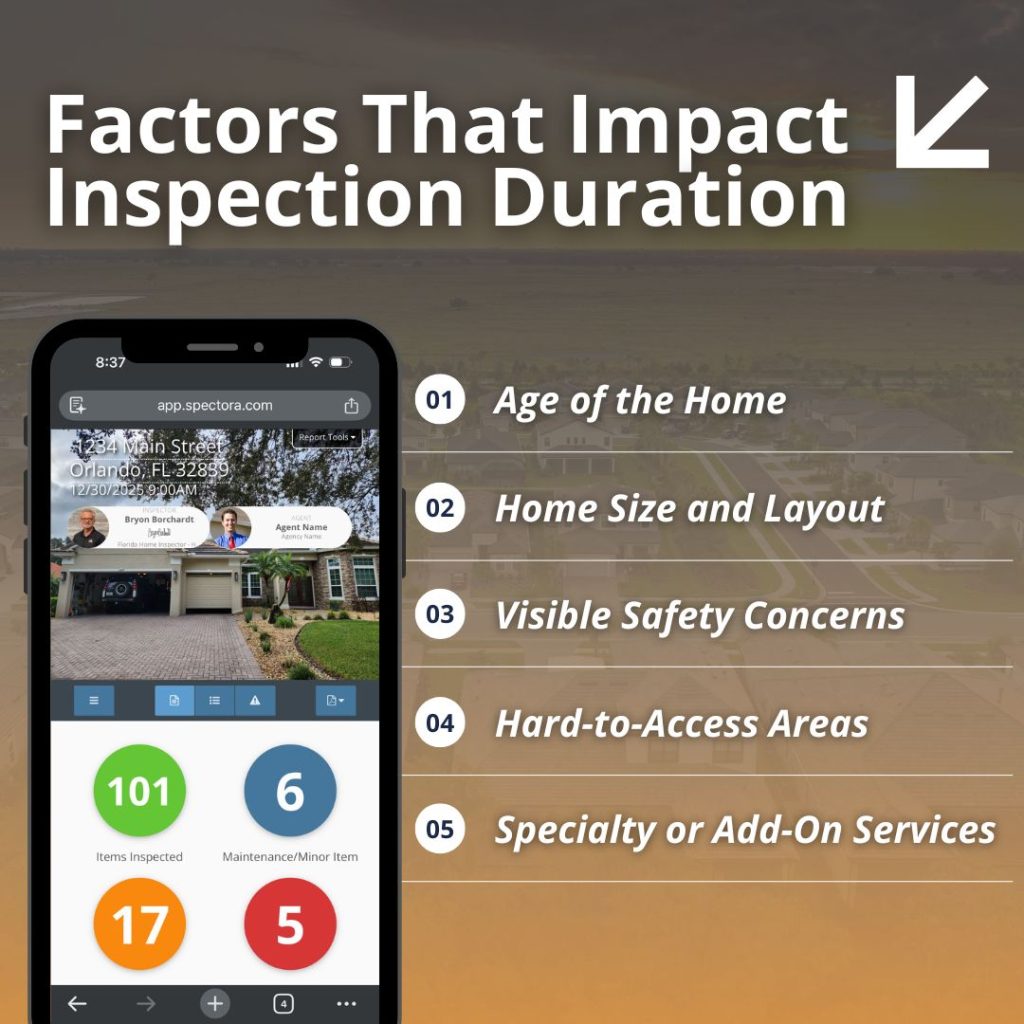
In most cases, a standard home inspection takes two to four hours.
Smaller homes with straightforward layouts often fall closer to the two-hour range. Larger homes, older homes, or properties with complex systems typically require more time.
Industry guidance from professional inspection organizations consistently shows that inspection time increases with home size, age, and system complexity. At CFBI, inspection time is based on what the home requires, not a preset time limit.
Why Home Size and Layout Matter
Square footage plays a major role in inspection length. Larger homes simply have more to evaluate.
Bigger homes usually include:
More rooms and interior surfaces
Longer rooflines and more roof penetrations
Additional electrical circuits and plumbing fixtures
Multi-story homes also take longer due to stair access, roof height, and expanded exterior evaluations. Inspectors must move carefully and safely while documenting conditions.
How the Age of the Home Affects Timing
Older homes almost always take longer to inspect.
In Central Florida, many homes were built before modern electrical, plumbing, and insulation standards were widely adopted. Older homes often include:
Inspectors spend additional time tracing how systems interact, documenting safety concerns, and explaining what those findings mean for the homeowner or buyer.
How Maintenance and Condition Change Inspection Time
The overall condition of the home matters as much as its age.
Well-maintained homes are often easier to inspect because systems are accessible and functioning as intended. Homes with deferred maintenance require more documentation and explanation.
Inspection time increases when inspectors need to:
Inspectors adjust their approach for safety while still completing a thorough evaluation. Weather may slow certain parts of the inspection, but it does not reduce the inspection scope.
What Inspectors Do During the Inspection
Inspection time includes more than walking through the home.
Much of the work happens in real time, so the final report is accurate and easy to understand.
Does Attending the Inspection Change the Timeline?
Buyers are often encouraged to attend the inspection, especially near the end.
In most cases, attendance does not significantly extend inspection time. Inspectors expect questions and plan accordingly. However, lengthy discussions during the inspection rather than afterward can add time.
CFBI inspectors aim to explain findings clearly while keeping the inspection moving efficiently.
Inspection Time Versus Report Delivery
Inspection time and report delivery are related but not the same.
While the on-site inspection may take several hours, the report requires additional time for:
Organizing photos
Writing explanations
Reviewing observations
Formatting the final report
Many inspection reports are delivered the same day or within 24 hours, depending on the size and complexity of the inspection.
How Other Inspection Types Compare
CFBI offers several inspection types beyond the standard home inspection. Each has a different time commitment based on scope.
Pre-Listing Inspections
Pre-listing inspections usually take a similar amount of time as buyer inspections. These inspections help sellers identify issues early and often reduce surprises during the sale process.
New Construction Inspections
New construction inspections vary based on the stage of the build.
Completed new homes often take two to three hours. Custom features, multiple systems, or larger homes may require additional time.
Pre-Drywall Inspections
Pre-drywall inspections are typically shorter, often one to two hours. Inspectors focus on framing, electrical rough-ins, plumbing rough-ins, and visible structural elements before walls are closed.
4-Point Insurance Inspections
A 4-point inspection focuses only on four systems:
Roof
Electrical
Plumbing
HVAC
Because the scope is limited, these inspections are often completed in under an hour. However, careful documentation is still required to meet insurance standards.
Wind Mitigation Inspections
Wind mitigation inspections focus on roof shape, attachment methods, secondary water resistance, and opening protections. These inspections are usually shorter but may take longer on complex roof designs.
HUD Inspections
HUD inspections follow specific program guidelines and checklists. Timing varies based on property size and program requirements. These inspections are more structured and often take longer than basic specialty inspections due to documentation needs.
Specialty Inspections and Typical Timing
Depending on the location, the inspection firm you’re working with, and their licensing, specialty inspections vary widely. Here’s a look at the timing you can expect for specialty services offered by CFBI:
Mold inspection and testing may take one to two hours, depending on sampling
Radon inspections involve device placement and later retrieval
Sewer scope inspections are often completed in under an hour
Solar panel inspections depend on system size and access
Swimming pool inspections add time due to equipment and safety checks
Termite (WDO) inspections are typically shorter but require detailed documentation
Thermal imaging adds time due to scanning and interpretation
Well water quality testing includes sampling and lab coordination
When combined with a standard inspection, the total expected inspection time will increase accordingly.
Why Extremely Short Inspections Can Be a Red Flag
Inspection time alone does not determine quality. However, extremely short inspections may raise questions.
Rushed inspections may:
Miss defects
Overlook safety concerns
Provide limited documentation
Create confusion later
Thorough inspections take time because homes are complex systems, not simple checklists.
Why Central Florida Homes Might Require More Time
Central Florida homes face unique conditions that affect inspection time.
Inspectors must evaluate how these conditions impact the home’s systems and structure, which adds time and documentation.
How Sellers and Buyers Can Help the Inspection Run Smoothly
A few simple steps help inspections stay efficient:
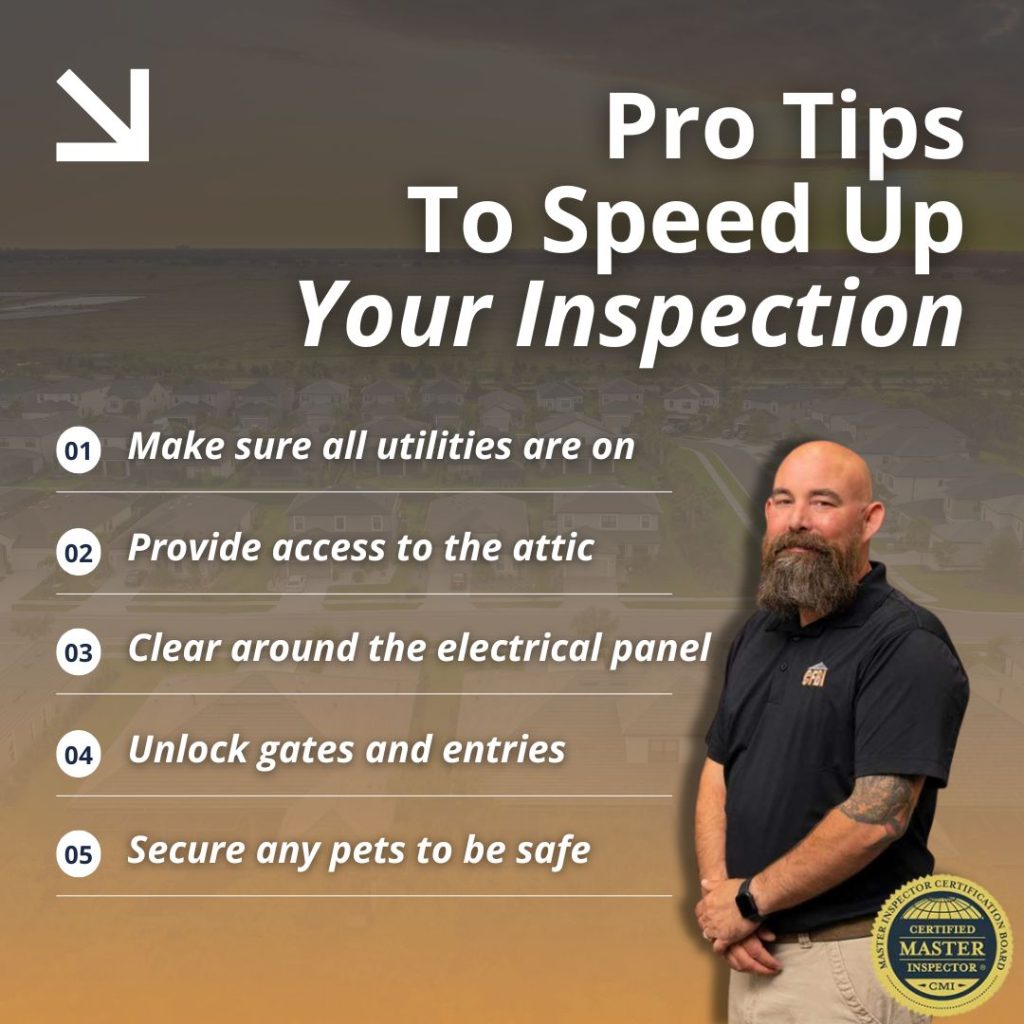
Ensure utilities are on
Clear access to panels and attic entries
Unlock gates and storage areas
Secure pets
These steps do not shorten inspection time dramatically, but help avoid unnecessary delays.
Related Questions to Explore
What does a home inspection actually cover versus specialty inspections? A standard inspection reviews major systems, while specialty inspections focus on specific concerns like pests, moisture, or structural details.
Why do insurance inspections take less time than full inspections? Insurance inspections (like 4-point and wind mitigation) have a limited scope focused on specific systems or risk factors.
Can inspection timing affect closing schedules? Yes. Inspection findings and report delivery timelines influence repair decisions and negotiations.
Are inspections different for new construction versus older homes? Yes. New construction inspections focus on installation quality, while older homes require more evaluation of aging systems.
Conclusion
A standard home inspection usually takes two to four hours, but inspection time varies based on home size, age, condition, and inspection type. In Central Florida, climate and construction styles add additional factors.
Inspection time reflects thoroughness. A well-documented inspection provides clarity, reduces surprises, and supports better decision-making.
CFBI performs a wide range of inspections across Central Florida, from standard home inspections to insurance, new construction, and specialty inspections. Book your service visit today.
Not every home issue leaves a visible mark. Moisture can spread behind walls, insulation can be missing in key areas, and electrical components can overheat long before damage shows on the surface. A thermal imaging camera helps inspectors detect these hidden conditions by identifying temperature differences that would otherwise go unnoticed.
In Central Florida, where heat, humidity, and heavy rain are part of everyday life, thermal imaging can add meaningful insight to a home inspection.
When used correctly, it helps inspectors spot patterns that may point to moisture intrusion, insulation gaps, air leakage, or electrical concerns.
This article explains what a thermal imaging camera can reveal during a home inspection, how inspectors interpret what they see, and what buyers, sellers, and homeowners should realistically expect from this technology.
What Thermal Imaging Actually Shows During an Inspection
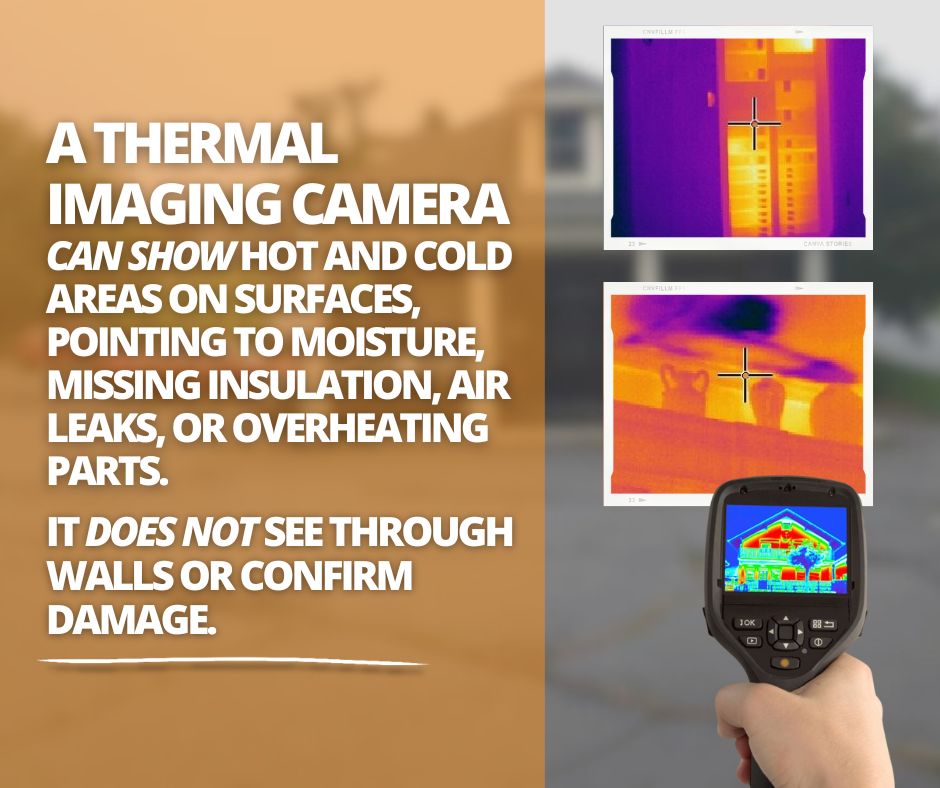
A thermal imaging camera does not see through walls or materials. Instead, it detects differences in surface temperature and displays them visually. These temperature variations can indicate that something behind the surface is behaving differently than expected.
During an inspection, the camera highlights warmer and cooler areas across walls, ceilings, floors, and system components. These patterns help inspectors identify areas that deserve closer attention.
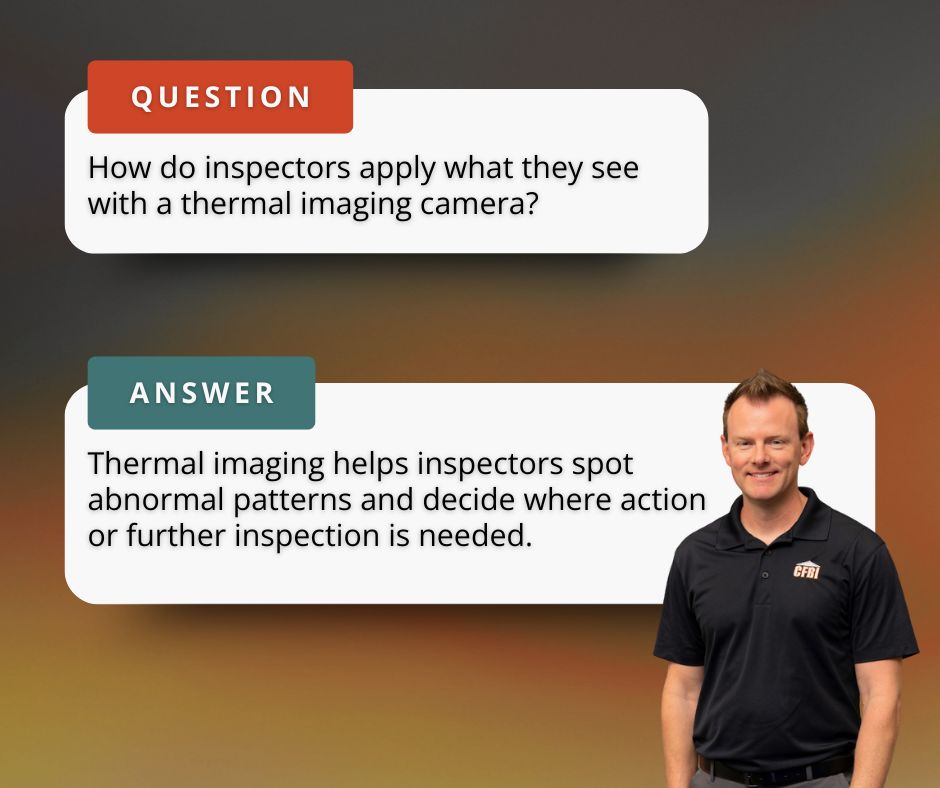
Thermal imaging is best understood as a tool for pattern recognition, not diagnosis. It helps answer the question, “Does this area behave differently than it should?” From there, inspectors use experience, context, and visual confirmation to determine whether the pattern is significant.
Why Thermal Imaging Is Especially Valuable in Central Florida Homes
Central Florida homes face conditions that make hidden issues more likely to develop.
High humidity increases the risk of moisture intrusion and condensation inside walls and ceilings. Frequent rain events can allow water to enter through small openings around roofs, windows, or exterior walls without leaving immediate stains.
Warm temperatures can also mask moisture problems until damage progresses.
Thermal imaging helps inspectors identify temperature patterns that may suggest moisture presence, insulation gaps, or air leakage before visible damage appears. In a climate where moisture-related problems are common, this additional layer of insight can be especially valuable.
Moisture Patterns Thermal Imaging Can Help Identify
One of the most common uses of thermal imaging during inspections is identifying areas that may be affected by moisture.
Moisture changes the temperature of building materials. Wet areas often appear cooler than surrounding surfaces due to evaporation. These cooler patterns can help inspectors locate areas where water intrusion may be occurring.
Thermal imaging may highlight moisture-related concerns near:
Windows and doors
Roof penetrations and ceiling areas
Plumbing fixtures and supply lines
Exterior walls exposed to wind-driven rain
In Florida, early moisture detection matters. Prolonged moisture exposure can contribute to mold growth, material deterioration, and indoor air quality concerns.
While thermal imaging does not confirm the source of moisture, it helps inspectors identify where further evaluation may be needed.
Insulation and Energy Performance Clues
Thermal imaging can also reveal how well a home’s insulation is performing.
Missing, compressed, or uneven insulation often creates temperature inconsistencies that show up clearly on a thermal image. During an inspection, these patterns may indicate areas where heat is entering or escaping more easily than expected.
Common insulation-related findings include uneven attic coverage, wall sections with reduced insulation, or areas where insulation has shifted over time. In Central Florida, poor insulation performance can increase cooling costs and make it harder to control indoor humidity.
Thermal imaging does not measure insulation levels directly, but it helps identify areas where insulation may not be doing its job effectively.
Air Leakage and Comfort Issues
Air leakage is another issue thermal imaging can help reveal.
When conditioned air escapes or outside air enters the home, temperature differences often appear around windows, doors, attic access points, and wall penetrations. These patterns can help explain comfort complaints, uneven room temperatures, or higher energy bills.
In hot, humid climates like Central Florida, air leakage can also affect moisture control. Warm, humid air entering the home places additional strain on cooling systems and can contribute to condensation problems.
Thermal imaging helps inspectors visualize these patterns so homeowners can better understand where improvements may be beneficial.
Electrical Concerns That May Show Up on Thermal Imaging
Thermal imaging can assist inspectors in identifying potential electrical safety concerns.
Overheating electrical components often appear as localized hot spots on a thermal image. These temperature differences may suggest loose connections, overloaded circuits, or failing components.
Inspectors commonly use thermal imaging to scan areas such as electrical panels, breakers, and major connections. When abnormal heat patterns are observed, inspectors document the finding and recommend further evaluation by a licensed electrician.
Thermal imaging does not diagnose electrical problems, but it can help flag conditions that should not be ignored.
What Thermal Imaging Can and Cannot Tell You
Thermal imaging is a powerful inspection tool, but it has clear limitations.
It can help identify:
Temperature differences that suggest moisture presence
Understanding these limits helps set realistic expectations and prevents overreliance on the technology.
How Inspectors Interpret Thermal Images
Thermal images are not evaluated in isolation. Inspectors interpret them in context.
Factors such as weather conditions, recent system use, building materials, and visible conditions all influence how thermal patterns are read. A cooler area on a wall, for example, may indicate moisture, missing insulation, or air movement. The inspector’s role is to evaluate which explanation is most likely based on the full inspection.
When a thermal anomaly is identified, inspectors document the finding and explain what it may indicate. They also explain what additional steps may be appropriate to confirm the issue.
What Thermal Imaging Findings Mean for Buyers and Sellers
For buyers, thermal imaging can provide additional insight into potential hidden issues before purchasing a home. Findings may support requests for further evaluation, repairs, or credits during negotiations.
For sellers, thermal imaging can help identify concerns before listing. Addressing moisture intrusion, insulation gaps, or electrical issues ahead of time can reduce surprises during the inspection process and help transactions move more smoothly.
Related Questions Homeowners Ask
Does thermal imaging always find hidden water damage? No. Thermal imaging helps identify temperature patterns that may suggest moisture, but it cannot confirm the source or extent of water damage on its own. If a suspicious pattern is found, further evaluation is usually needed to confirm what is causing it.
Can a thermal imaging camera see mold inside walls? Thermal imaging cannot see mold directly. It may highlight temperature differences caused by moisture conditions that can support mold growth, which helps inspectors identify areas that may need closer attention.
Does every home inspection include thermal imaging? Not always. Thermal imaging is an added inspection tool and may be offered as part of enhanced inspection services. Homeowners should confirm whether thermal imaging is included or available as an option.
When to Call a Professional
Thermal imaging helps identify unusual temperature patterns, but it does not provide final answers on its own.
A home inspection with thermal imaging added on is the right step when you want an overall evaluation of the home and professional insight into what thermal patterns may indicate. Inspectors use thermal imaging to document areas that behave differently than expected and explain whether those findings suggest moisture, insulation gaps, air leakage, or electrical concerns that may need closer attention.
If inspection findings or ongoing conditions raise concerns about mold, a mold professional should be consulted next. Mold specialists can perform targeted testing to determine whether mold is present and assess the extent of any contamination. This type of testing goes beyond the scope of a standard home inspection.
Central Florida Building Inspectors uses thermal imaging to help guide informed decisions, and Elite Mold Services provides specialized mold evaluation when confirmation is needed.
Conclusion
A thermal imaging camera can reveal important clues about a home that are not visible during a standard walk-through. In Central Florida, where moisture, heat, and humidity create unique challenges, this technology can add valuable insight during a home inspection.
When used responsibly, thermal imaging helps inspectors identify areas that deserve closer attention while setting clear expectations about what the technology can and cannot do.
Combined with a professional home inspection, it provides homeowners with a clearer understanding of a home’s condition and potential risks.
Radon is an invisible, odorless gas that can enter a home without any obvious warning. Many Central Florida homeowners do not realize the signs are there until a radon test reveals its presence.
While radon is more common in certain parts of the country, pockets of elevated levels exist throughout Florida. This means every home has the potential for radon exposure, no matter its age, style, or location.
Because radon cannot be seen, smelled, or tasted, the signs are not always clear. Still, there are patterns and conditions that increase risk. This guide explains the most common signs that your home may have elevated radon levels, what homeowners should watch for, and when it is time to schedule radon testing.
Why Radon Testing Matters in Central Florida
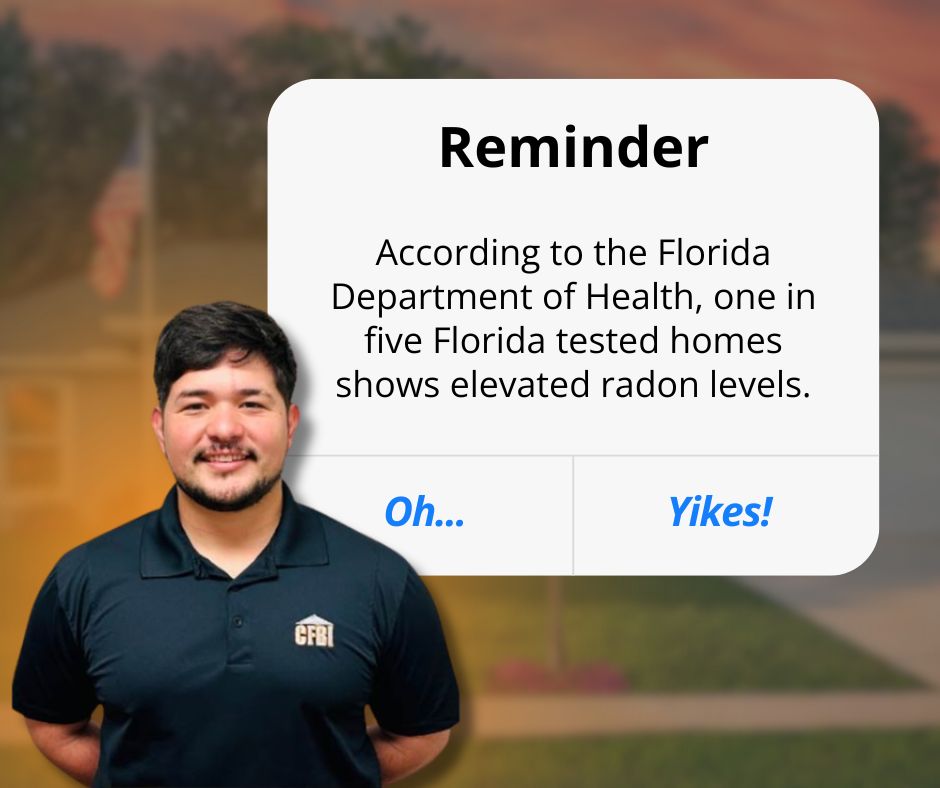
Many homeowners assume Florida is not a radon-prone state, but this is not true. According to the Florida Department of Health, one in five Florida homes tested shows elevated radon levels. This includes homes with slab foundations, crawlspaces, and even newer construction.
Central Florida’s soil and geology allow radon to collect under homes, especially in areas with:
Sandy soil
Deep foundations
Poor ventilation under the slab
Cracks or gaps around plumbing or utilities
High humidity keeps air movement low
Because radon has no smell or taste, the only way to confirm levels is through testing. Recognizing the conditions that increase risk helps homeowners decide when to act.
The Most Common Signs of Radon Exposure in a Home
Radon itself does not create visible stains or odors. Instead, signs appear through a combination of building conditions, indoor air quality complaints, and the home’s foundation or soil contact.
Here are the most important indicators to watch for.
1. Air That Feels Stale or Heavy in Lower Levels
Radon collects in the lowest part of a home because it enters through the soil. In Central Florida, many homes built on slabs still have areas where air becomes stagnant.
can indicate poor air circulation, which increases the chance that radon is accumulating.
Radon rises naturally, but homes with closed-up windows, long cooling seasons, and limited airflow can trap more of it inside.
2. Cracks in the Foundation or Slab
Cracks in concrete slabs or block walls create easy pathways for soil gases. These cracks do not cause radon, but they make it easier for radon to enter.
Common entry points include:
Hairline cracks across the slab
Cracks in block walls
Gaps around pipes
Openings around sump wells or utility penetrations
Florida’s soil shifts during rainy and dry seasons. As the ground expands and contracts, new cracks can form, giving radon more pathways inside.
3. High Humidity Levels That Make the Home Feel Damp
Radon enters from the soil, and Florida’s climate keeps moisture levels high. When a home feels damp for long periods, it often means the air is not moving well. Poor circulation allows radon to collect in the lowest parts of the home.
High humidity does not prove radon is present, but it often appears in homes with elevated levels because of:
Long cooling seasons
Reduced ventilation
Slab contact with moist soil
Indoor air that stays trapped for long periods
The EPA notes that radon levels can rise in homes that are sealed tightly or cooled for long periods without fresh airflow.
4. Lingering Odors or Stuffy Rooms
While radon itself has no smell, rooms with poor airflow often develop odors that linger. If certain rooms always feel stuffy or take a long time to air out, it may indicate that the air is not moving well enough to prevent radon from building up.
Stuffy rooms do not confirm radon, but they signal airflow problems that increase risk.
5. Soil Contact Around the Home That Looks Damp All Year
Damp or wet soil around the exterior of a home can increase the chance that radon collects below the slab. Central Florida’s rainy seasons, sprinkler systems, and high groundwater all contribute to saturated soil.
Wet soil does not cause radon, but it allows gases to stay trapped close to the foundation, making it easier for radon to seep inside.
6. Long Periods With Windows Closed
Florida’s heat, storms, and humidity mean many homeowners keep windows closed almost all year. When indoor air does not circulate, radon has fewer ways to escape.
Energy-efficient homes are great for comfort and cooling costs, but they often allow radon levels to rise more easily without regular testing.
At a Glance: Conditions That Increase Radon Risk
Condition
Why It Matters
What Homeowners Notice
Foundation cracks
Creates radon entry points
Small gaps, hairline cracks
High humidity
Reduces airflow
Rooms feel damp or sticky
Poor ventilation
Traps radon indoors
Stuffy or still air
Long cooling seasons
Home stays sealed
Hard to introduce fresh air
Damp soil around the home
Holds gases near the slab
Moist areas or pooling water
Why Is Radon a Health Concern?
Radon is the second leading cause of lung cancer in the United States, according to the EPA.
Long-term exposure increases risk because radon particles can be inhaled into the lungs.
Children may be more sensitive to radon because their breathing rates are higher relative to their body size.
The health effects of radon come from long-term exposure, not short-term contact. This is why regular testing is important, especially during the times of year when windows stay closed, and air is less likely to move freely.
How Do Radon Levels Change Throughout the Year?
Radon levels can rise or fall depending on several seasonal factors. Many Central Florida homes experience changes due to:
Rainy seasons and storm moisture
High water tables
Temperature swings
HVAC usage patterns
Soil pressure changes
The EPA also notes that radon levels often spike during cooler months when homes stay closed. In Central Florida, similar increases can happen during hot summer months when air conditioners run all day.
How Does Radon Enter a Home?
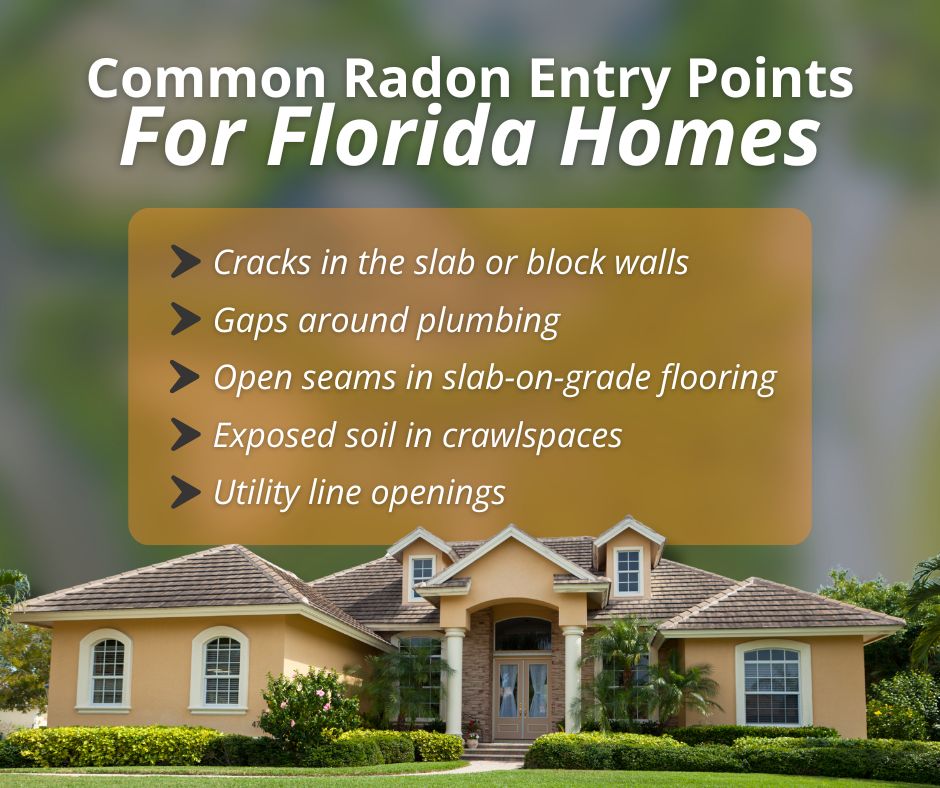
Radon moves from the soil into homes through the path of least resistance. Common entry points include:
Foundation cracks
Open block walls
Gaps around plumbing or electrical
Sump pump openings
Crawlspaces or low-lying areas
Once inside, radon becomes trapped without proper ventilation. Because radon is a gas, it can move through even very small gaps.
What Homeowners Should Do if These Signs Are Present
If you notice any conditions on this list, the next step is simple: schedule a radon test. Testing is the only way to confirm the presence or level of radon inside a home.
Homeowners should consider testing when:
Buying or selling a home
Moving into a home built on a slab
Renovating or opening sealed areas
Living in a home with little airflow
Noticing persistent humidity or moisture issues
It has been more than two years since the last test
Radon testing is fast, affordable, and one of the most helpful steps homeowners can take to ensure a safe indoor environment.
Other Related Questions
Do Florida homes with slabs still need radon testing? Yes. Even homes without basements can have elevated radon levels because the gas moves directly through the soil and slab.
Can radon get into newer energy-efficient homes? Yes. Tighter construction often traps indoor air for longer periods, which can allow radon to accumulate more easily.
Is radon only a concern in older homes? No. Radon can affect homes of any age, and newer homes can sometimes experience higher levels due to improved air sealing.
Should I test for radon before buying a home in Central Florida? Many buyers do. Radon testing provides peace of mind and helps you understand the indoor air quality before closing.
When to Call a Professional
Call a qualified inspector when you want accurate testing and clear results. Testing is recommended when:
Buying or selling a home
Noticing poor airflow or humidity issues
Living in a home with slab-on-grade construction
It has been two or more years since the last test
You want to confirm the current indoor air quality
You live in an area known for elevated radon levels
Professionals use accurate testing equipment and provide clear results, so you know whether additional steps are needed to make the home safer.
Conclusion
Radon is a silent indoor air quality concern that can affect any home in Central Florida. While the signs are not always obvious, certain conditions and patterns make elevated radon levels more likely. Recognizing these risk factors and scheduling a radon test can help protect your home and your family.
If you want a clear understanding of radon levels in your home, Central Florida Building Inspectors can help. Book a visit today to get accurate results and take the next step toward a safer indoor environment.